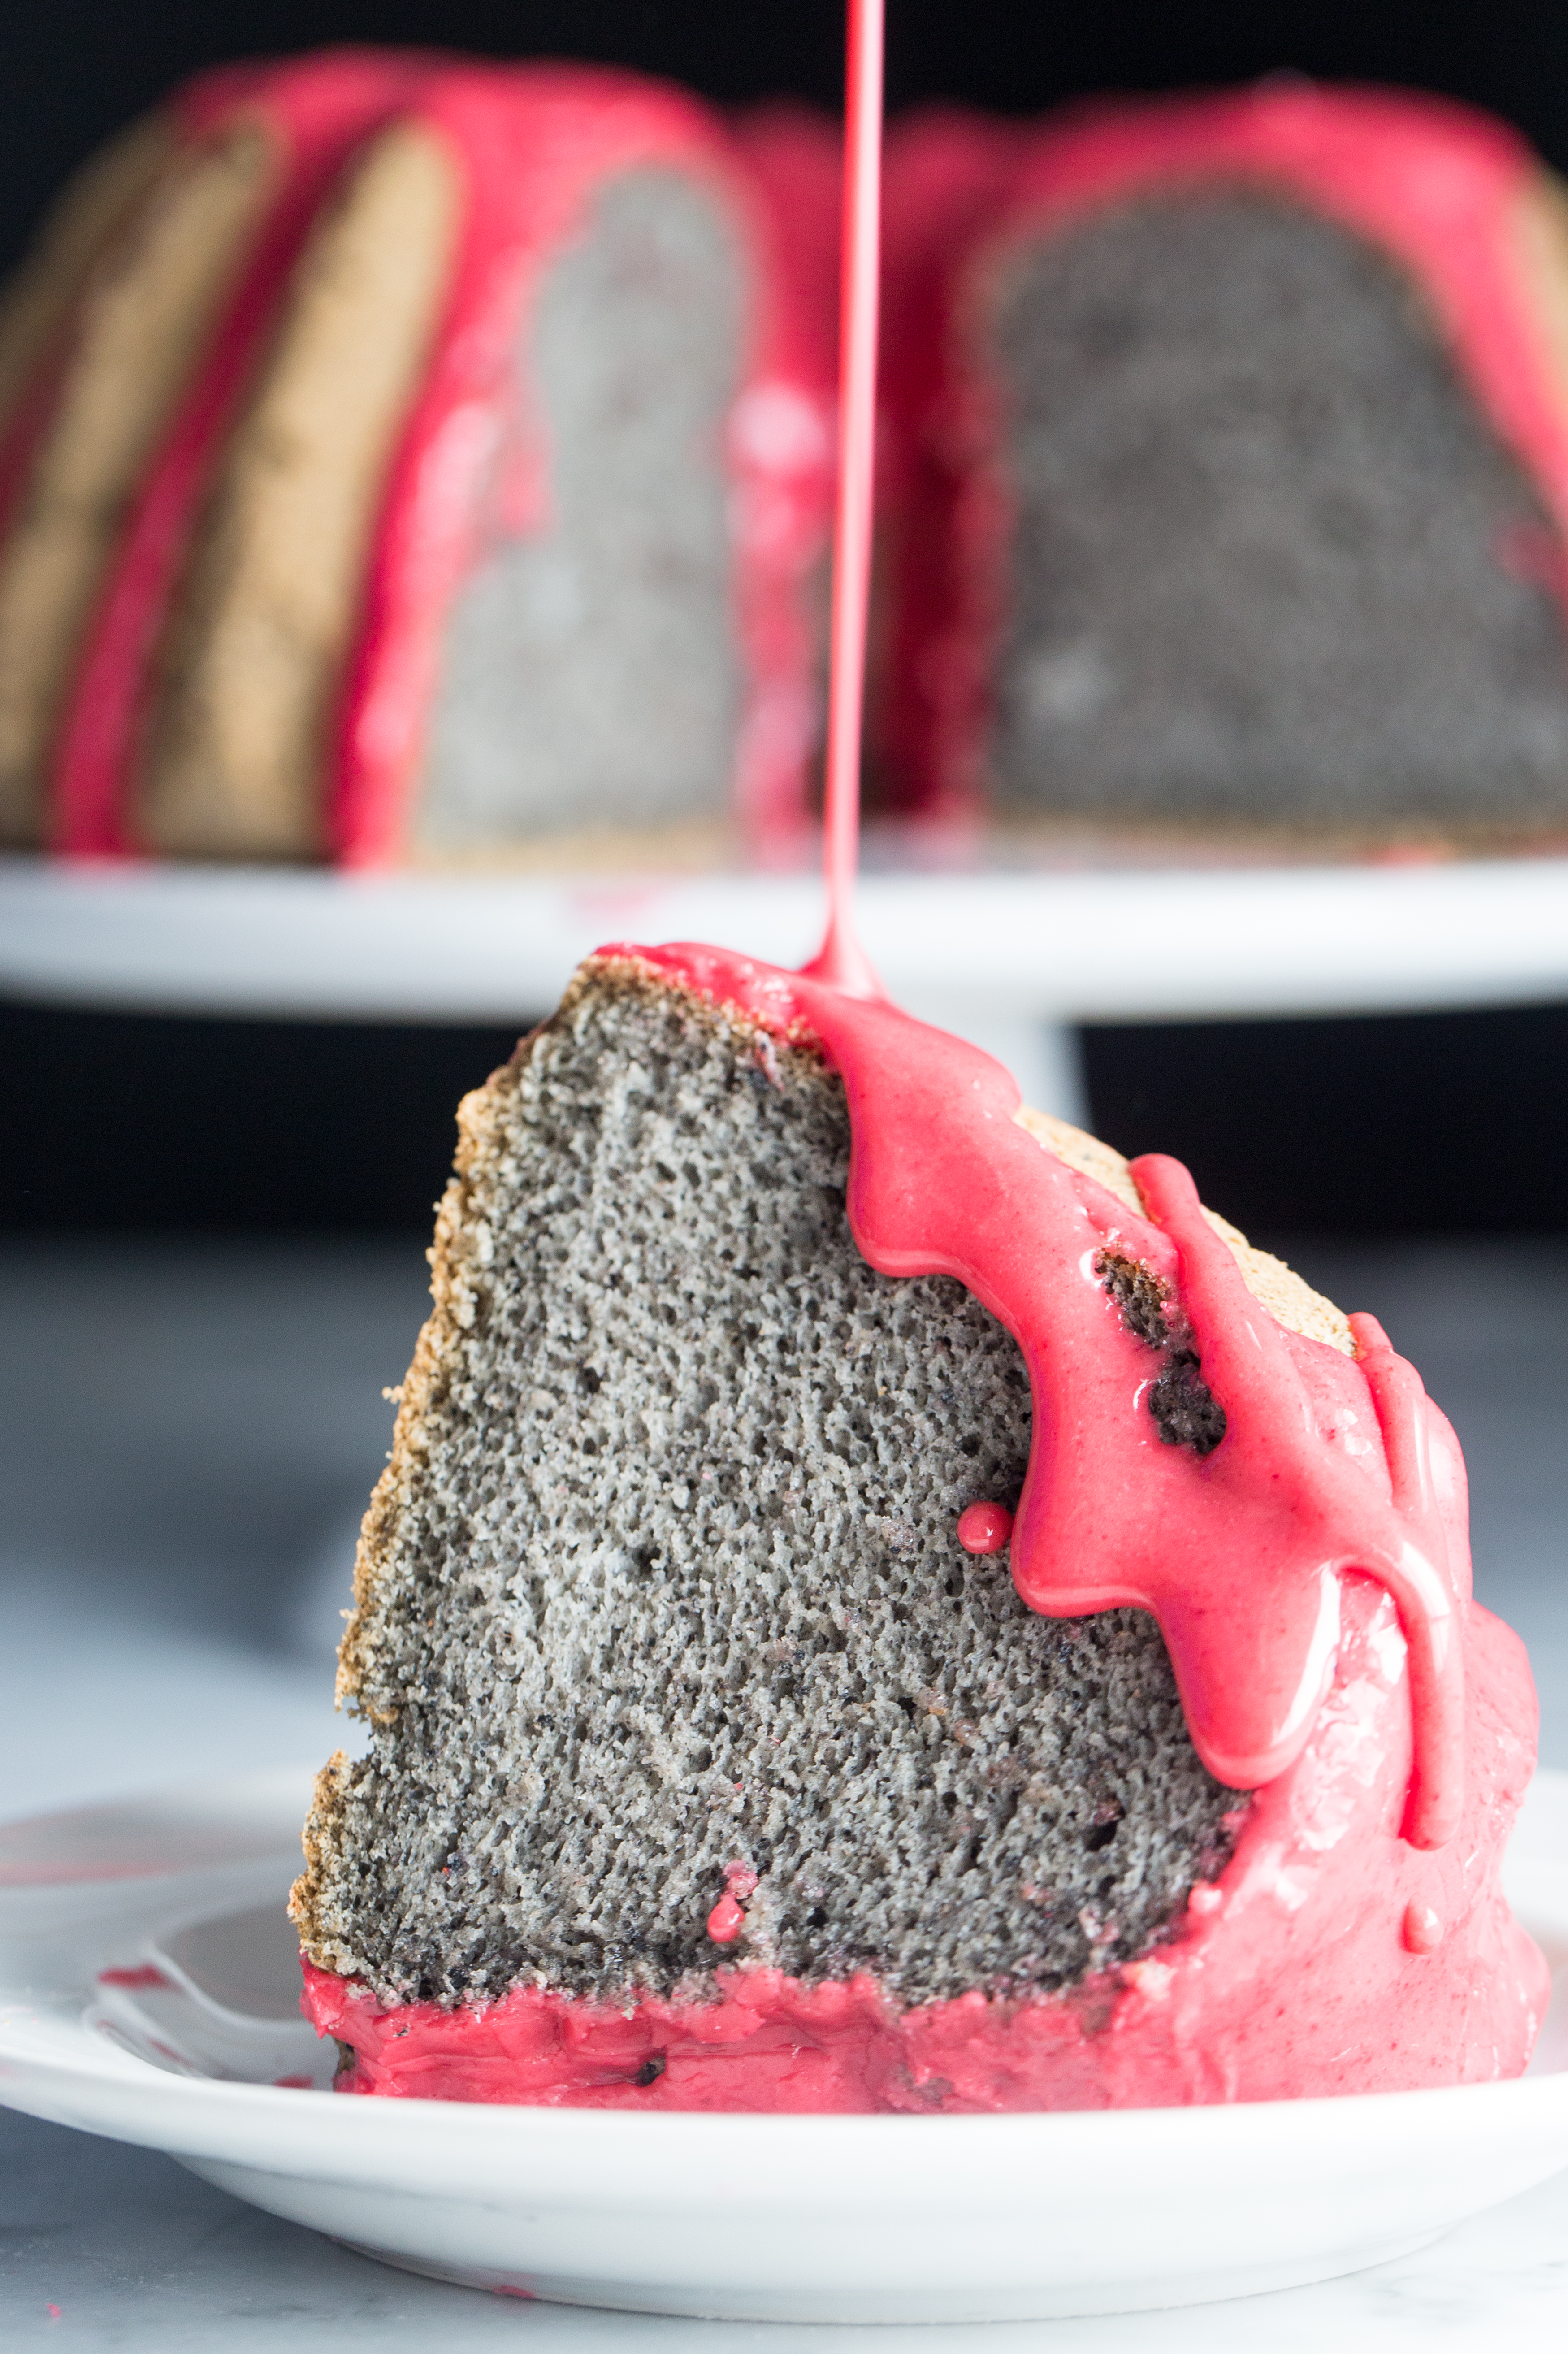
There are very few things that I love as much as the earthy, smoky flavor of black sesame seeds and at this point, I think my deep infatuation with infusing it into tasty desserts is pretty well documented. 🙂 So this fluffy, spongy, dare I say “sultry” black sesame cake is an extra-tasty way to continue this ongoing obsession and I know you’re going to love it every bite of it.
Plus we were lucky and super excited to eat some of this delicious cake with the Otto’s family themselves for brunch today!!
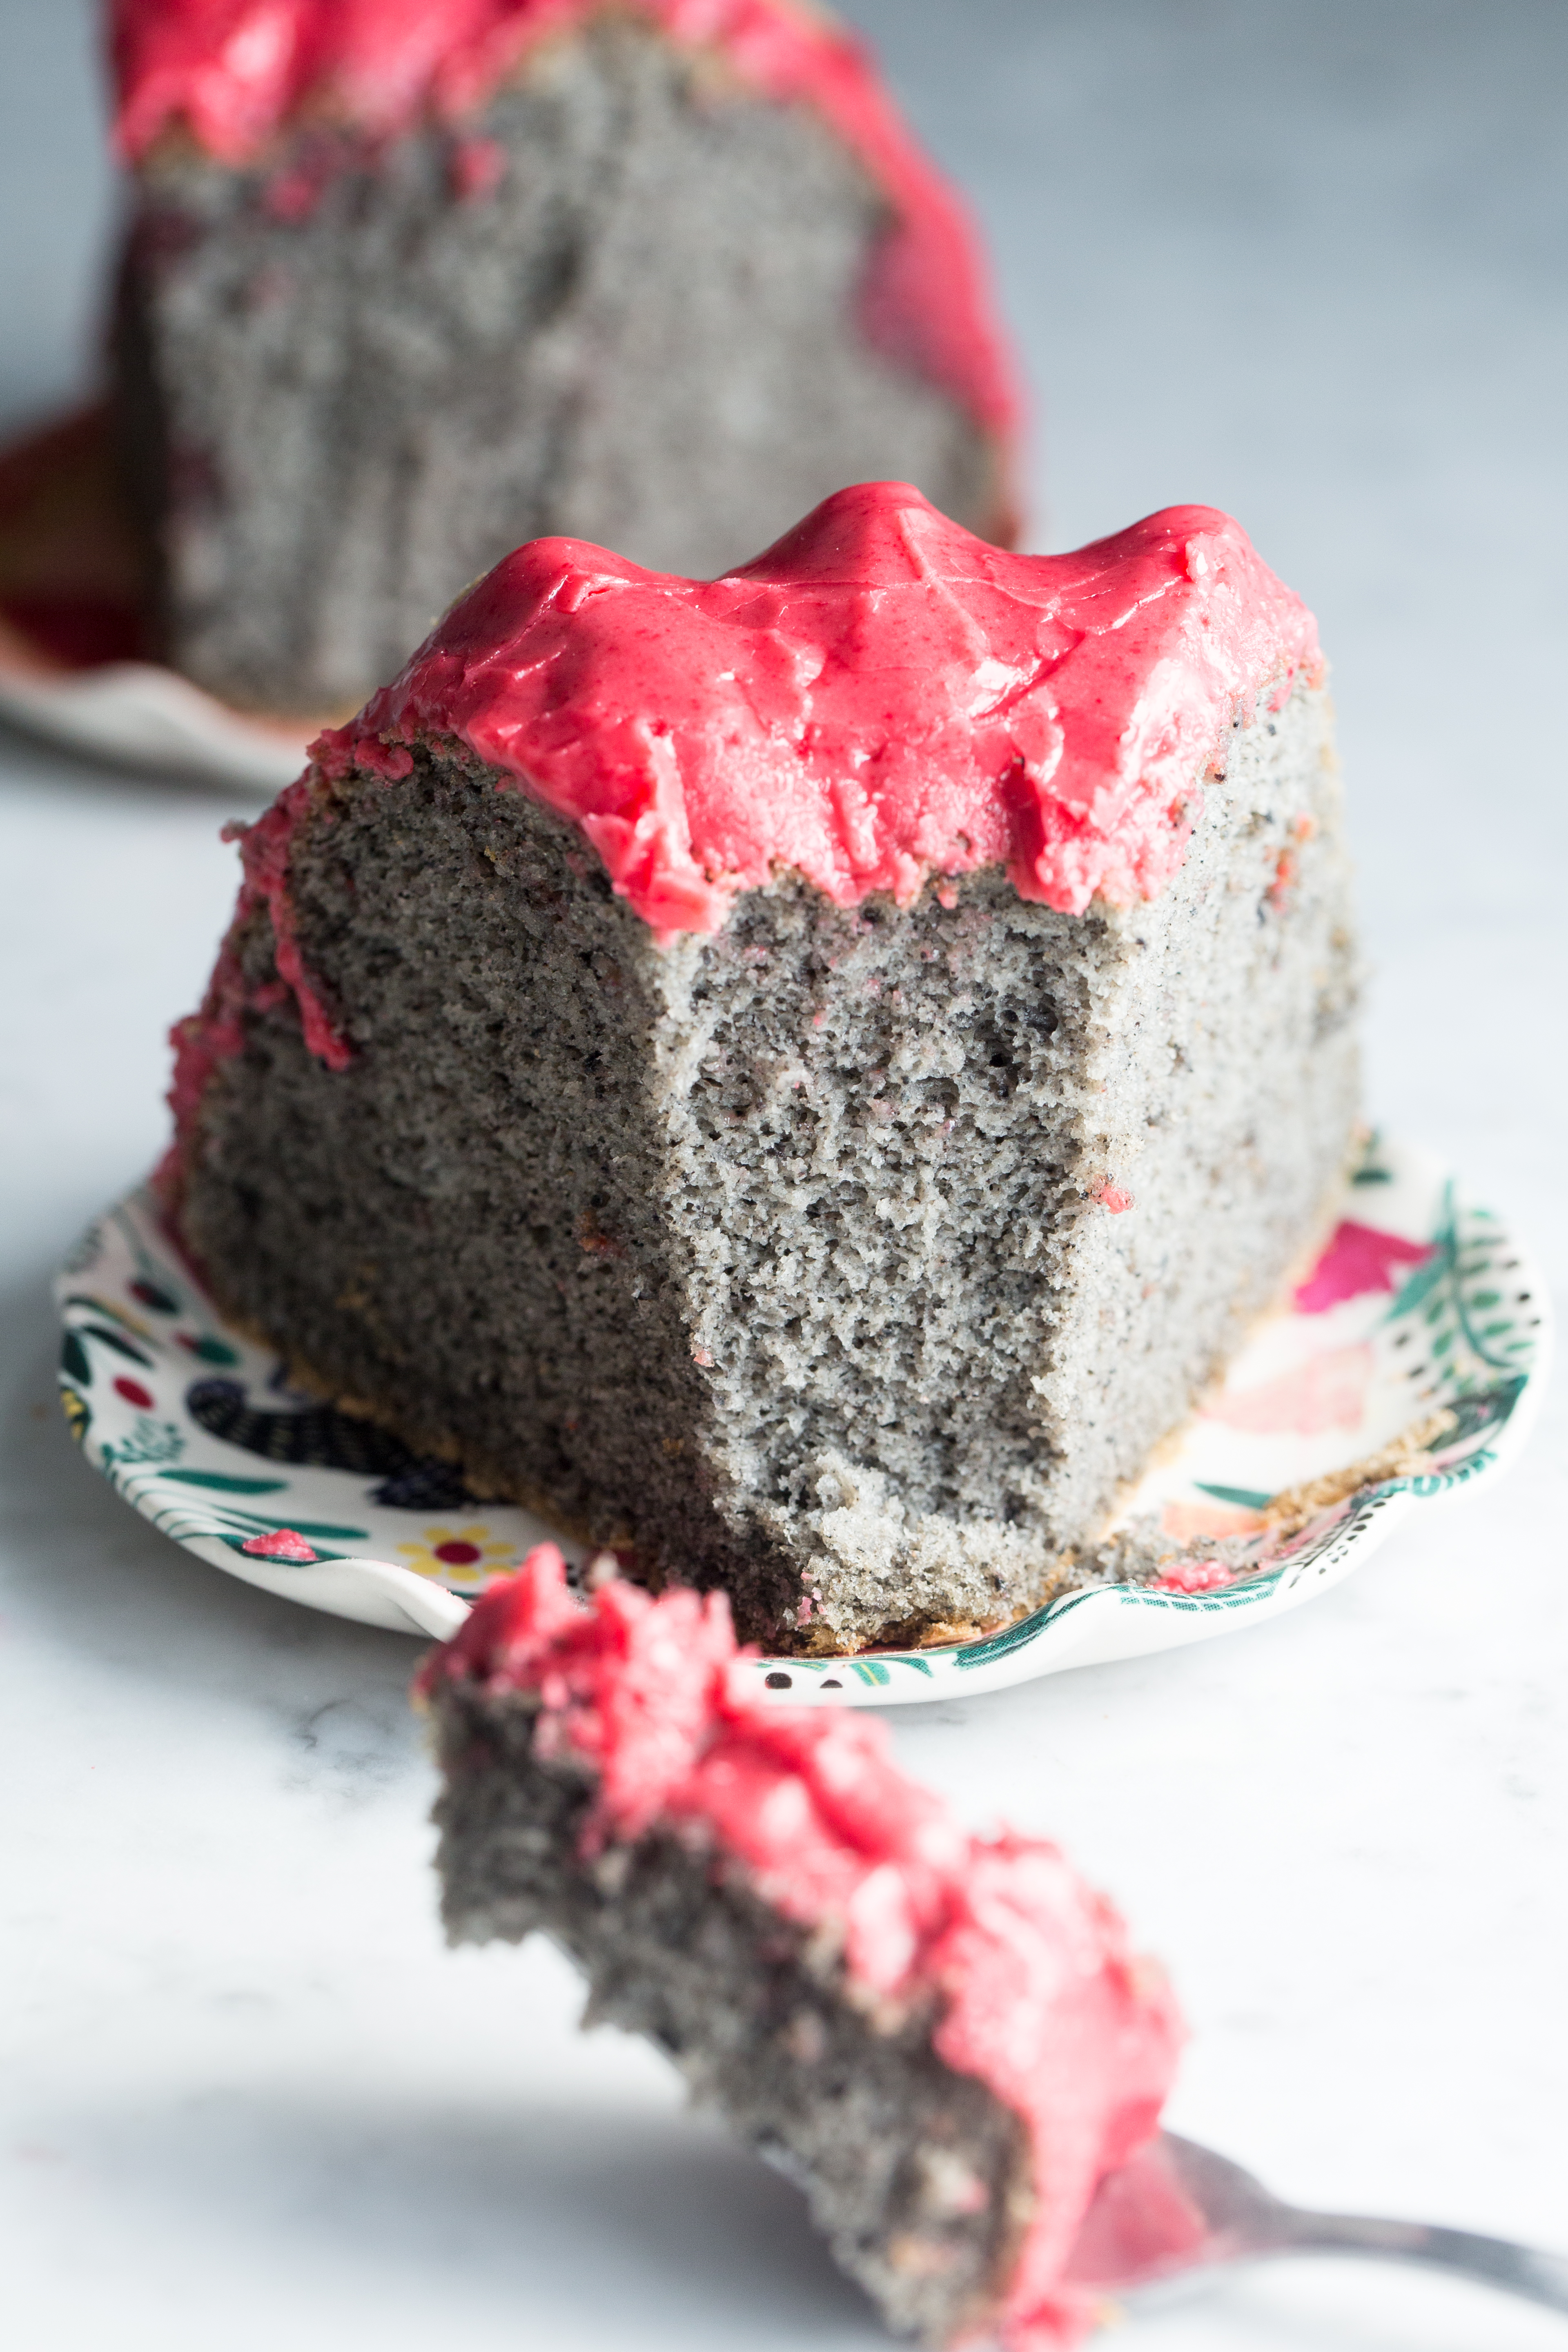
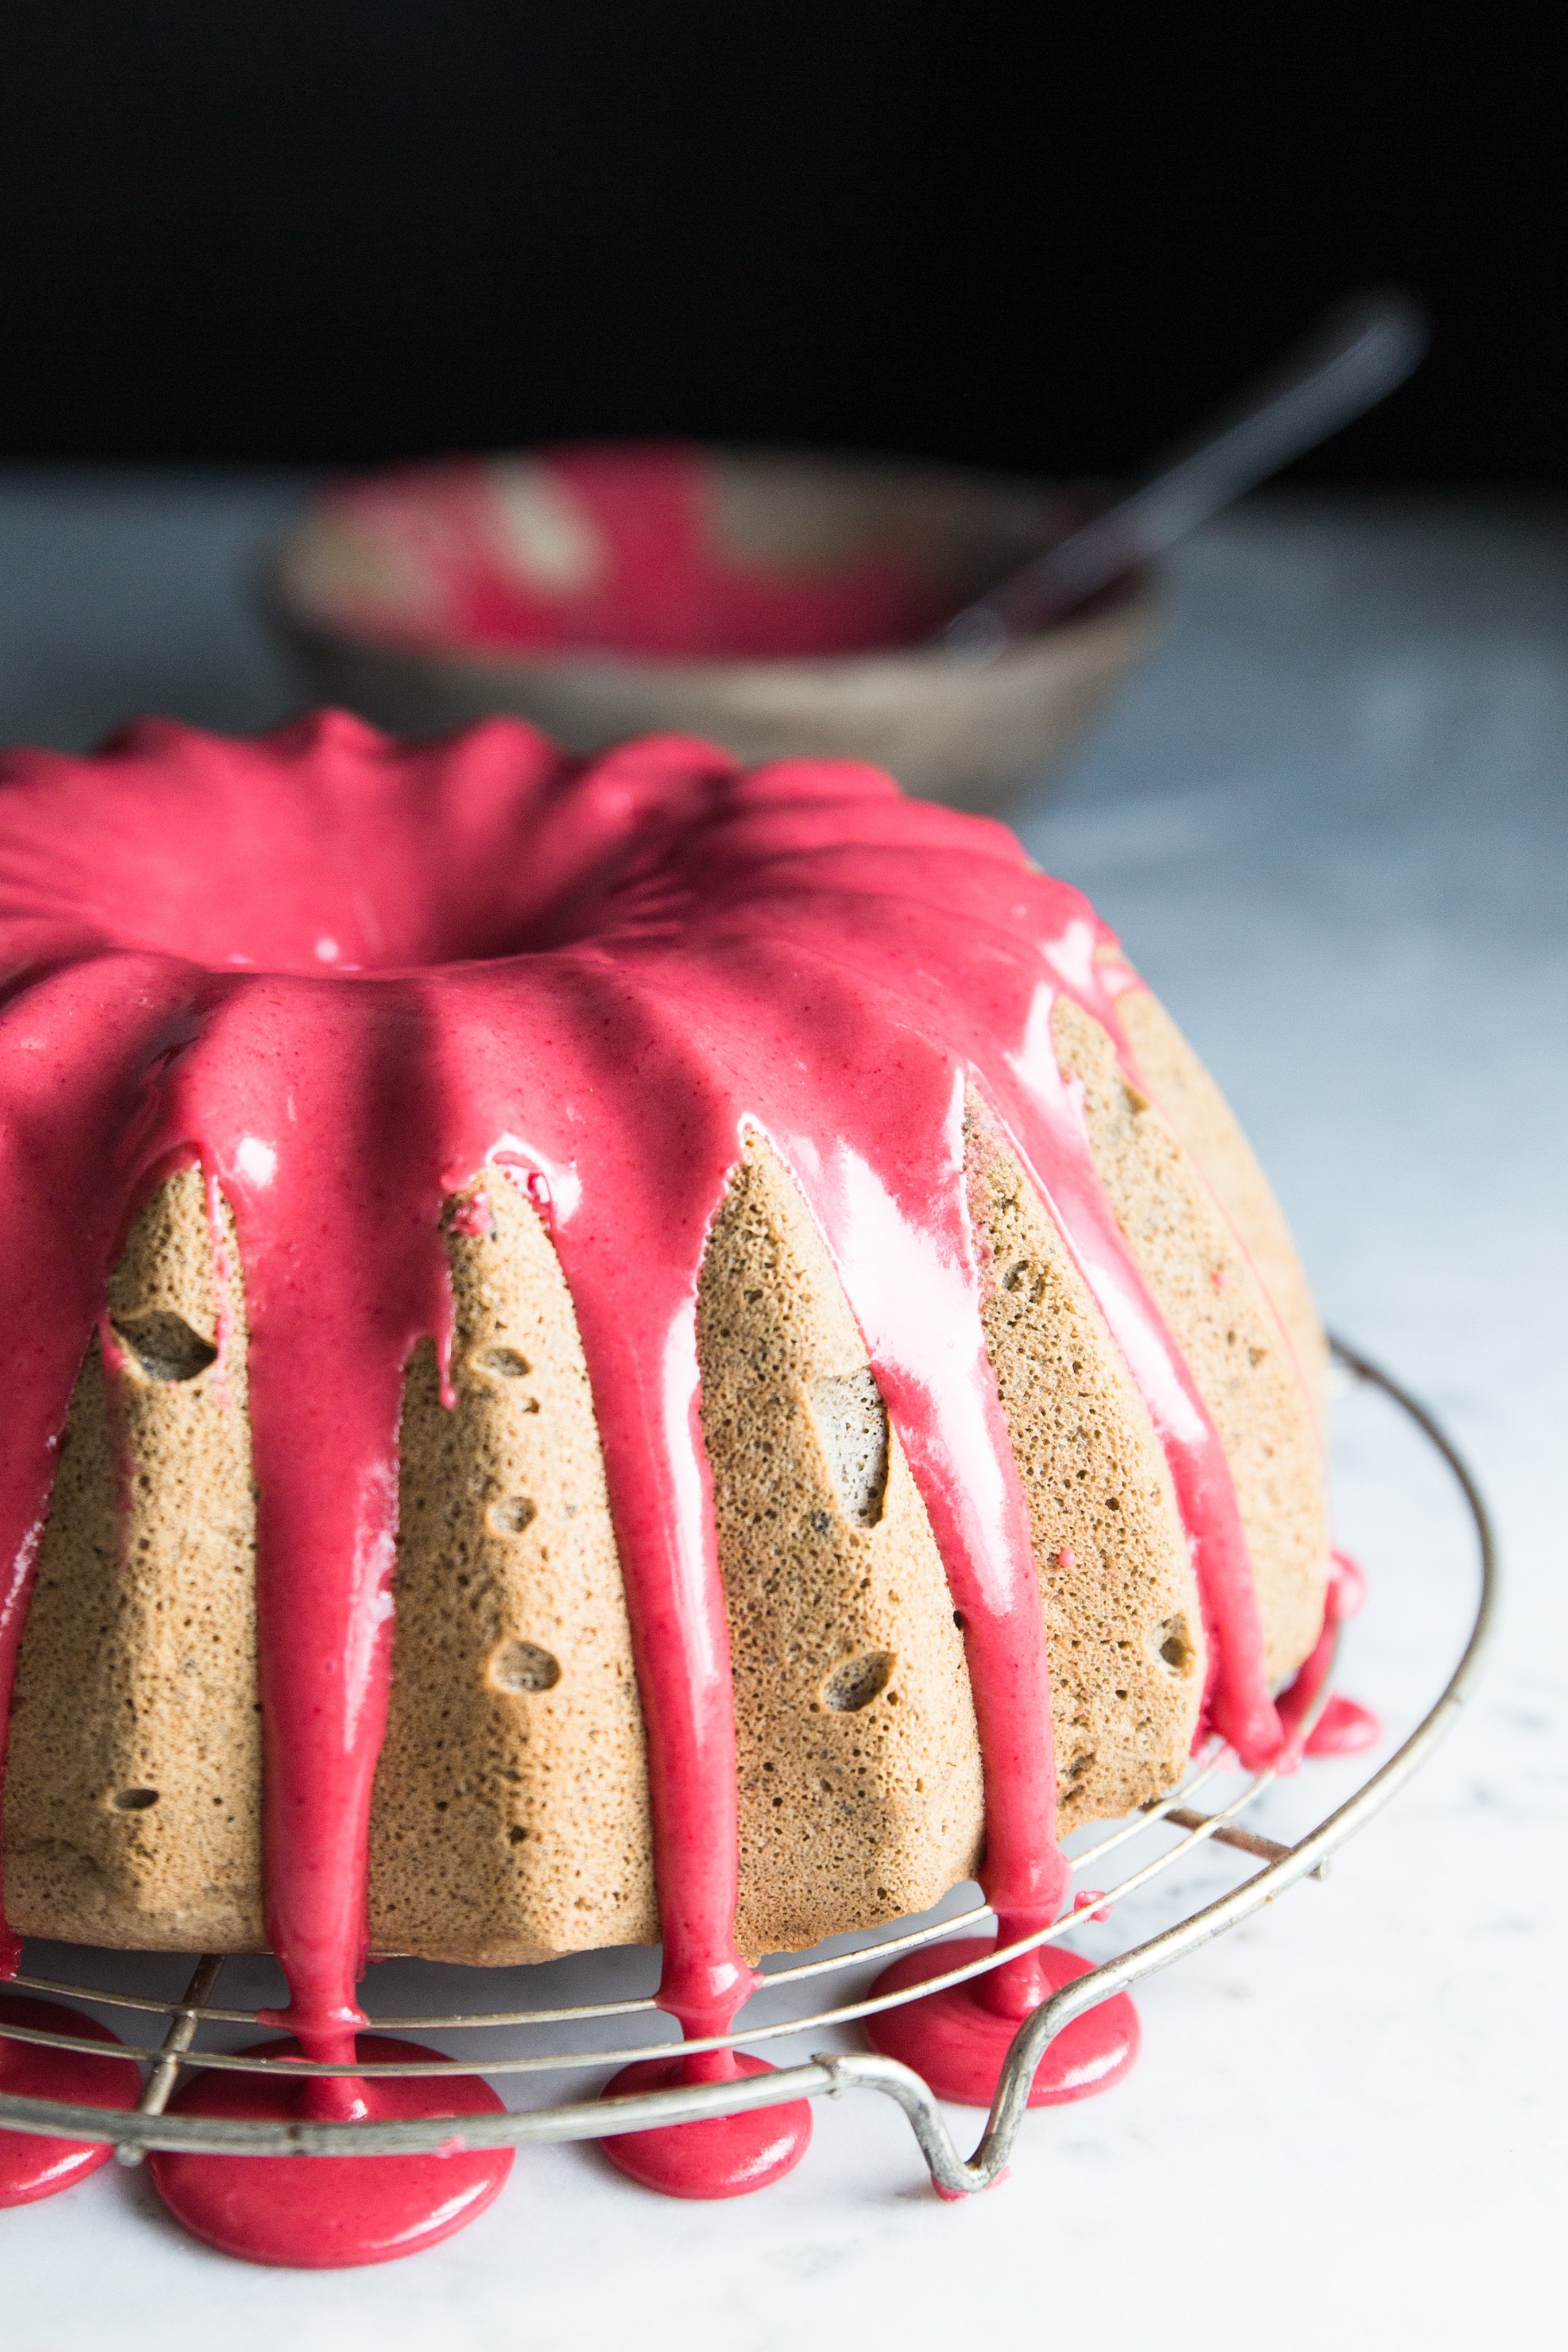
Grain Free Black Sesame Cake
Note: I highly recommend making this cake using measurements by weight, with a scale. The subtle differences between measuring by weight or volume (cups) can make or break a good sponge cake!
Ingredients:
55g (1/3 cup plus 1 tablespoon) black sesame seeds
120g (1/2 cup plus 1 tablespoon) maple or cane sugar
8 eggs**
Scant less than 1/4 tsp salt
125 ml (1/2 liquid cup) almond or other milk
75 ml (1/3 liquid cup) avocado oil*
2 teaspoons vanilla extract
100g (3/4 cup) Otto’s Naturals Cassava Flour (Get it HERE)
3/4 tsp grain free baking powder
Optional: 1/4 teaspoon activated charcoal powder for color
1/4 tsp cream of tartar, slightly rounded
*Or other neutral tasting oil
** room temperature eggs can be helpful in getting good volume, fast with the egg whiles.
Special Note & Equipment:
7-8 cup (3.8 x 8.5 x 3.8 inches) Bundt Pan. I used THIS one. You can also use a standard 6 cup (8.5 x 8.5 x 3) inch bundt pan like THIS Nordicware one. With this one, you will likely have some leftover batter. Use it to make a cupcake for snacking on!
This recipe makes approx 7 cups of batter, depending on how stable the meringue is. I fill the pans a little more than 3/4 to the top of the pan. So any shape of pan size that allows for that would work, like a loaf pan. (Depending on the size of the loaf pan, you may still want to fill it only 3/4 full and bake any extra as a cupcake.) Baking times may vary with different shaped pans. Just be sure to bake UNDISTURBED for at least 35-40 minutes before opening the oven to check for doneness! You don’t want to lose all that volume you worked so hard to create! When the top springs back when gently pressed and when the cake starts to just pull away from the sides, it’s ready.
Method:
To prep: Toast the sesame seeds in a pan over medium heat. Set aside to cool. This step is optional but gives the sesame a deep, rich, and mellow flavor.
1. Grease the bundt pan evenly all over, including the center. Try to have it be nice and smooth with no lumps or pockets of fat. Preheat oven to 325 °F (160C); middle rack. For a loaf pan, line a long sheet of parchment (cut to fit)
2. First, using a small herb/coffee grinder, blend the sugar until it is powdery. This is known as ‘caster sugar’. It will greatly enhance its ability to dissolve into the egg whites and stabilize the meringue. Set aside.
3. Using the same grinder, blend together the toasted black sesame seeds and only 1 tablespoon of the sugar, until they form a fine powder. Be careful not to grind them so much that you make “sesame butter”! Stopping a few times and stirring the seeds, will help keep this from happening. Set aside and let the powder cool down.
Note: Alternatively, If you do not have a small grinder, you could try combing all of the flour in the recipe (no sugar), and the sesame seeds in a blender, blending until the sesame is fine, then sift. Although you should know, I have not tried this 🙂
4. Separate the eggs and set aside the whites. Then in a large bowl, whisk together the egg yolks, salt, milk, oil, and vanilla until blended.
5. In another bowl sift together the cassava flour, baking powder, and sesame powder and activated charcoal. Toward the end of sifting, you may need to use your fingers to press the remaining sesame powder through the sifter, using a circular motion. Once sifted, it is fine to add what is left in the sifter to the flour mixture. Sifting helps give the cake it’s extra light texture.
6. Add the sifted flour mixture to the egg yolk mixture, whisking until well combined. Set aside while you prepare the meringue.
7. Using a KitchenAid with the whisk attachment or an electric mixer, whisk the egg whites and cream of tartar on a medium speed until foamy. Add the sugar in three additions until all of it has been incorporated. Continue beating on high until firm peaks have formed.
8. Mix 1/3 of meringue with the yolk batter using a hand whisk. Add another 1/3 portion and fold gently with the whisk. Then add the remaining meringue and fold gently using a spatula until no more streaks of meringue can be seen.
9. Pour batter into prepared pan and tap the pan very lightly to remove air bubbles. Smooth the top if needed.
10. Place a casserole dish or other rectangular baking dish, filled 1/3 of the way with water, on the bottom oven rack. Now, it can be heavily debated among bakers as to whether this will make a difference in a home oven. However, I have made this cake many times, with and without the water bath underneath, and the fluff and rise of the cake are much more lovely with it. If I ever change my mind, I will revise, haha!
11. Place the cake on the middle rack of the oven and bake for about 50 minutes or until the top springs back when gently pressed. Remove the water bath and bake for another 10 minutes.
12. Reomve from the oven. Let cool for 5 minutes, then carefully invert onto a cooling rack as soon as you can. Instructions for baking in a loaf pan are below the ingredients in a “note”.
Raspberry Glaze
IF you are not sensitive to cane sugar, try an organic powdered sugar form of a corn/grain free version. Or make your own. Regular powdered sugar is the easiest option here. In My Paleo Patisserie, we use a homemade maple powdered sugar. It’s gorgeous and delicious as well! You can get the maple sugar for a great price HERE, or even make your own maple sugar HERE
Ingredients:
25g dried raspberries (Like THESE)
230g (2 cups) grain free powdered sugar or Maple Powdered sugar*
1/4 water Plus more by the drizzle if needed
Method:
1. Grind the freeze-dried raspberries to a powder, in a small coffee/herb grinder. Sift the powder to remove the seeds.
2. In a small saucepan, combine the powdered sugar, water, and raspberry powder. Whisk until smooth. Place over a medium-low heat and whisk lightly until lukewarm. Do not overheat or go above 100F for the best glossy results. Add drops of water to reach desired consistency.
3. Pour or drizzle over cake as desired.
*Note: To make maple powdered sugar: Combine 1 1/2 cups maple sugar with 1 1/2 tablespoons arrowroot powder. Then blend in a powerful herb/coffee grinder or blender. Stop often to stir and break up any clumps. You want this as fine and powdery as you can get it.
Hello 🙂 Making this for my mother-in-laws birthday and am wondering if you have an opinion about using warm or cold egg whites?
I often use room temp eggs, however that just makes them get them where you want them faster. Either will do. It takes a little longer to get the proteins loosened up when cold.
Thank you. I reread your recipe this morning and saw your note about using room temperature eggs.
I am making This for my birthday on sunday, is it best to make it a day in advance? What about the icing?
Absolutely you can make a day ahead. Though I love to make my ckea day of when I can! But that’s kind craziness, haha! The icing should be fine a day ahead too, unless it’s crazy humid/
Thank yOu, Jenni!
I will make tHe icing on the day, but as for the cake, i have too much to so…
I have your Paleo patesserie book and love it! Such a beautiful book!
Yum! Thanks for the great variations for each of your terrific recipes. Such usable ideas; I love your site.
Hi jenni!
Thanks for all the new ideas and bringing back some of my childhood favourites.
Because of my lack of herb grinder i used ky magimix to blend the sesAme seeds with the flour. I reckon it does the job.
The cake was aPprox 4cm above the edge when i took out the water from the oven. Fell after and no Matter the amount of coconut oil i used for the bundt pan the cake was sticking to it.
I tagged you on instagram on the photo of my pretty weird looking cake.
Esther/mindless00
This is absolutely an issue when making sponge cakes.. gluten free or not and especially Bundt cakes. They kinda have a reputation for sticking, haha! It can be a challenge for sure. You might try baking a bit longer (after removing the water bath) as this can help the outside crisp up a bit more. And if it fell once removed from the over, it was not fully baked on the inside. Ovens can vary significantly in their actual;p reading temps, so an oven thermometer might be helpful.
This looks amazing. Donyou tuink i could adapt this to a Silicone pan vs a bUndt? I have a heart shaped one that i think would be so fun!
I haven’t tried that yet, I would think it would work, but might brown differently. Worth a try for sure!
I wonder how faba(GARBANZo bean liquid )would dformakingthe merangue instead of using eggs.
Well this recipe requires the whole egg overall, so it likely wouldn’t work. The yolks are used as well as the whites.